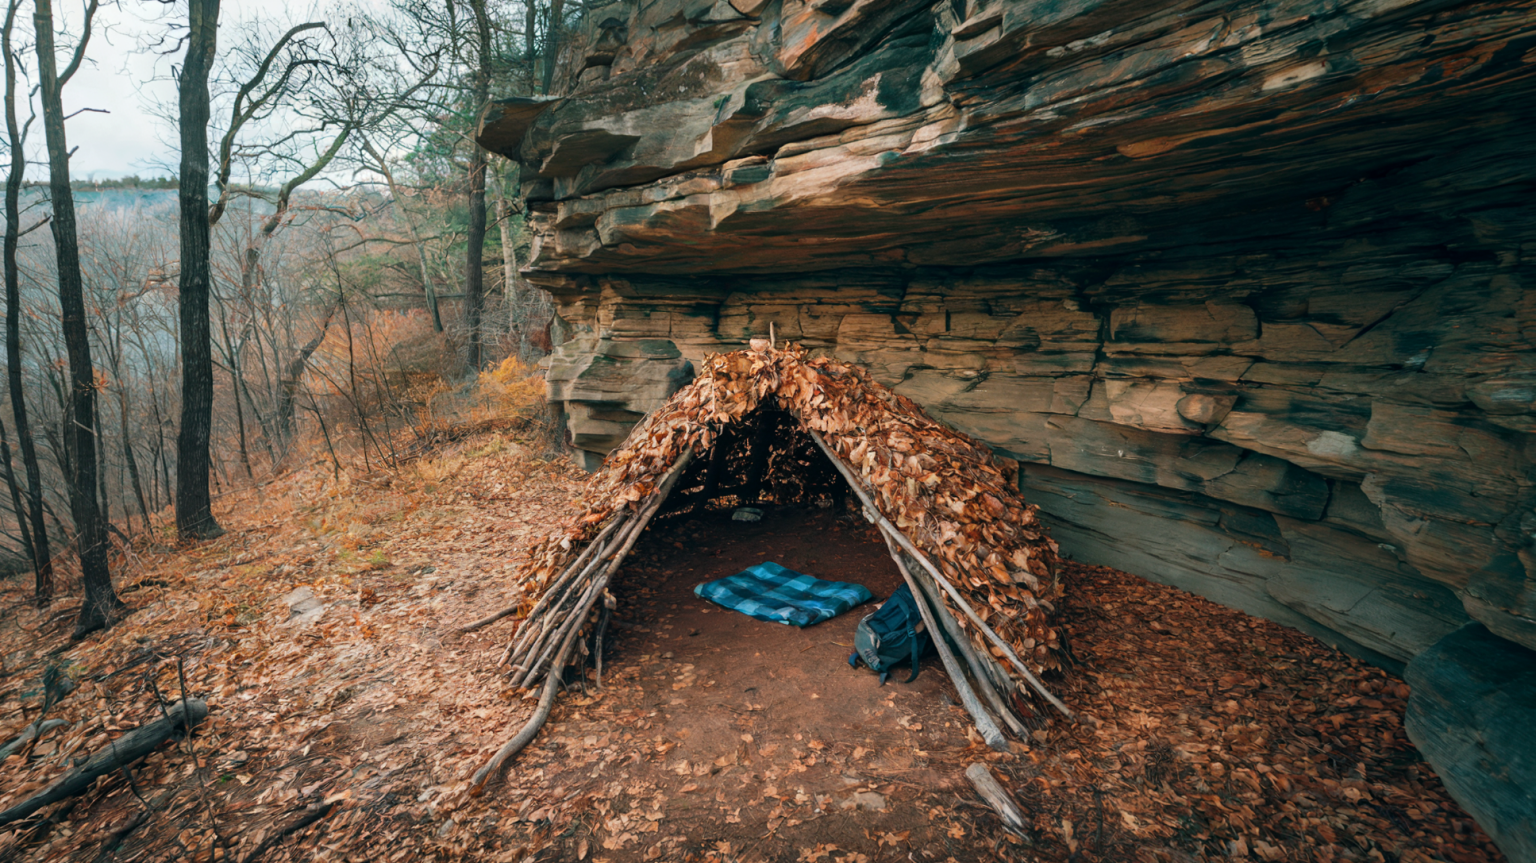
In the wilderness, shelter is more than just a place to sleep—it’s a crucial layer of protection against unpredictable elements. Under normal conditions, we are decently prepared with our standard tent setup. But what happens if plans go awry?
Severe Weather Conditions — Heavy snow, high winds, or sudden downpours can overwhelm standard camping or backpacking tents. A sturdier, improvised survival shelter provides added protection and insulation.
Tent Damage or Loss — Falling branches, sharp rocks, broken poles or torn fabric can create havoc. Constructing a debris hut or lean-to allows campers to remain protected until they can replace their gear or seek help.
Unexpected Detour or Getting Lost — As I’ve written about previously, we should know how to use a map and compass. However, even experienced campers can be affected by poor weather. Fog, heavy rain, or snowfall can obscure landmarks and lead to map misinterpretation. And magnetic interference from nearby objects, such as rocks with high iron content or even certain electronics, can affect compass readings.
Mastering the skill of building survival shelters not only provides peace of mind but also deepens one’s connection to nature, enhancing confidence and resilience on every adventure.
Choosing the Right Location for Your Shelter
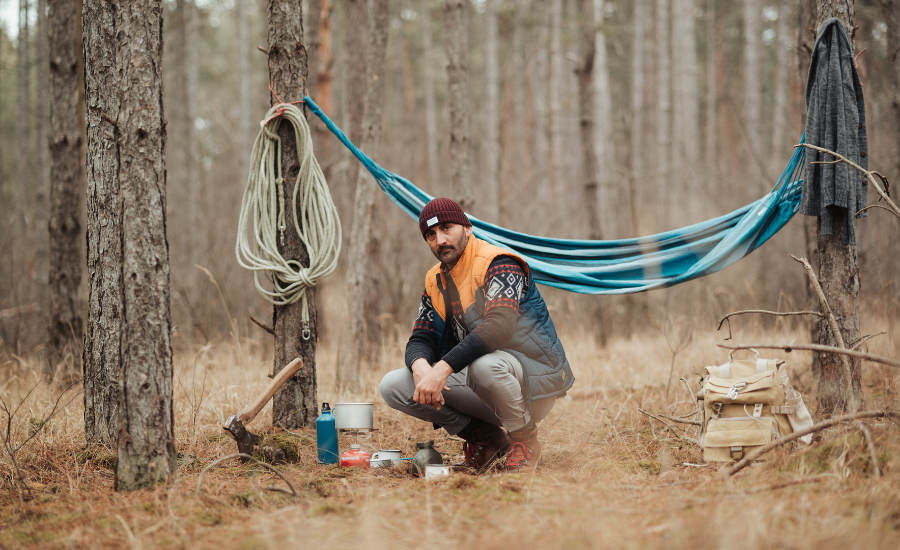
Selecting a safe and strategic location is a critical first step. Start by considering factors like wind direction, which can make or break your shelter’s effectiveness. Set your shelter with its back to the wind, using the structure itself to create a barrier against harsh gusts.
Proximity to water is also essential, but be careful not to set up too close—low-lying areas near streams or rivers can become hazardous if water levels rise. Avoid paths frequented by wildlife or areas directly under dead branches, which could fall.
Natural features, like rock formations or dense trees, can offer added protection. Look for sturdy natural backdrops to enhance shelter stability. Choosing the right spot can drastically improve your shelter’s effectiveness and create a more comfortable, secure experience.
Understanding The Different Types of Camping Shelters
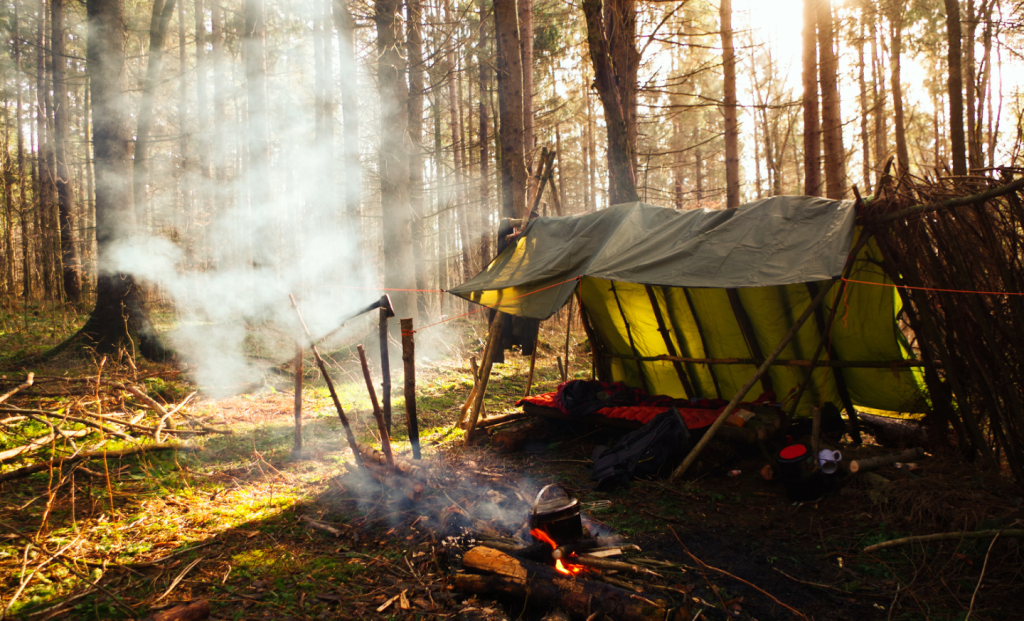
Different weather conditions and available resources determine the type of shelter that will best serve your needs. The most common survival shelters include the lean-to, debris hut, and A-frame, each with unique benefits and ideal uses.
- Lean-to provides simple, straightforward protection, ideal for blocking wind and light rain when time and materials are limited. However, lean-tos are open on one side, making them less effective at retaining heat, which can be uncomfortable in colder conditions.
- Debris hut, with its insulation-focused design, is perfect for colder conditions where warmth is a priority. However, constructing a debris hut requires gathering large amounts of insulating materials, like leaves and branches, which can be time-consuming and energy-intensive.
- A-frame is prized for its sturdiness, providing protection in areas prone to rain and wind. However, depending on the size, a stable A-frame needs solid support beams and additional materials, which may not always be available in every environment and is time-consuming.
There are other creative options as well that can be constructed in just minutes when time is of the essence. In addition to the lean-to, a SERE survival instructor walks you through a Pup-Tent style and a Plow-Point style.
Understanding the pros and cons of each helps you decide which shelter suits your camping environment, weather conditions, and available resources.
The Lean-to Shelter: Simple and Effective Protection
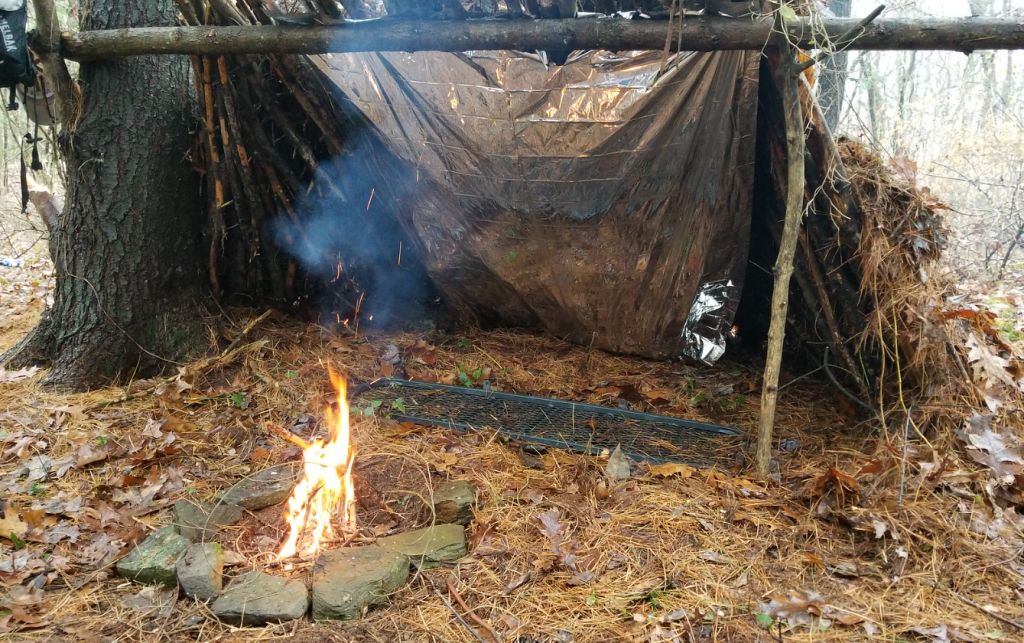
The lean-to shelter is a go-to for campers who need quick and reliable shelter. Begin by selecting two sturdy anchor points, such as trees, to support the structure. Lean-to construction requires basic materials—sturdy branches, leaves, and, ideally, a tarp for added protection.
Secure a long branch horizontally between two trees, tying it with rope or paracord. Next, angle several branches against this support beam to form a slanted roof, placing leaves or foliage over it to add insulation.
To improve wind resistance, add extra branches and secure them tightly. Position the lean-to with its back against prevailing winds for optimal protection. With a bit of reinforcement, this shelter can effectively shield you from wind and moderate rain.
Building a Debris Hut: Insulating for Colder Conditions
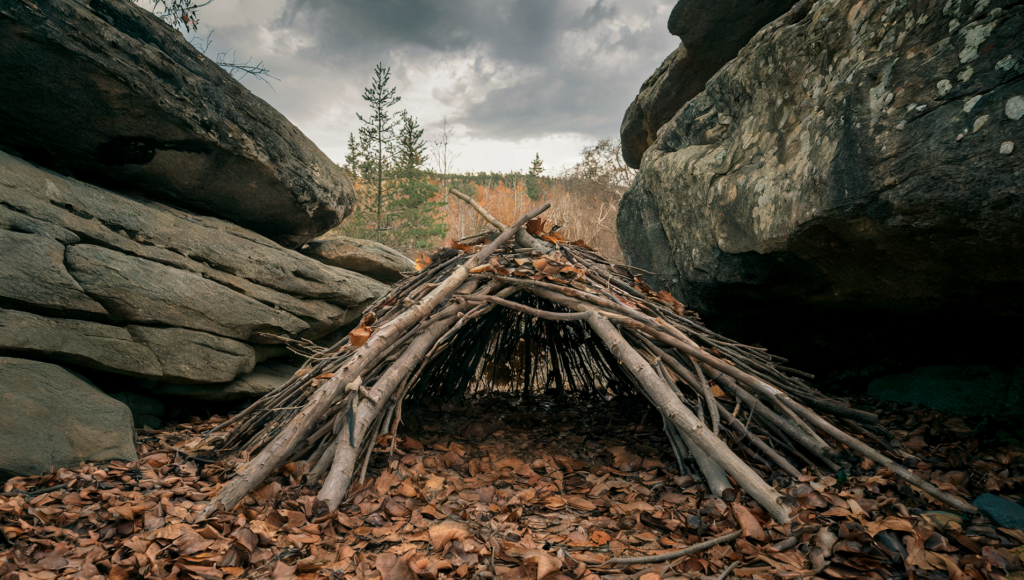
For colder climates, the debris hut is an excellent choice, designed to keep warmth in and cold out. Start by building a small, dome-shaped frame with branches, leaving a single small entrance. The compact shape of a debris hut means less heat is lost, and its thick walls serve as a barrier against cold air.
Nature offers an array of materials to strengthen and insulate your shelter. Multiple layers of branches, pine needles, leaves and grass is the best method, providing both structure and insulation.
Avoid using damp or wet materials as they retain moisture, cooling the shelter rather than insulating it. Instead, aim for dry, light materials to keep the shelter warm. By maximizing natural resources, you can create a solid, well-insulated refuge without extra gear.
Once the shelter is built, block off the entrance as much as possible without sealing it entirely. This compact, insulated space will provide a cozy, warm refuge, especially when temperatures drop at night.
Crafting an A-Frame Survival Shelter: Stability in Severe Weather
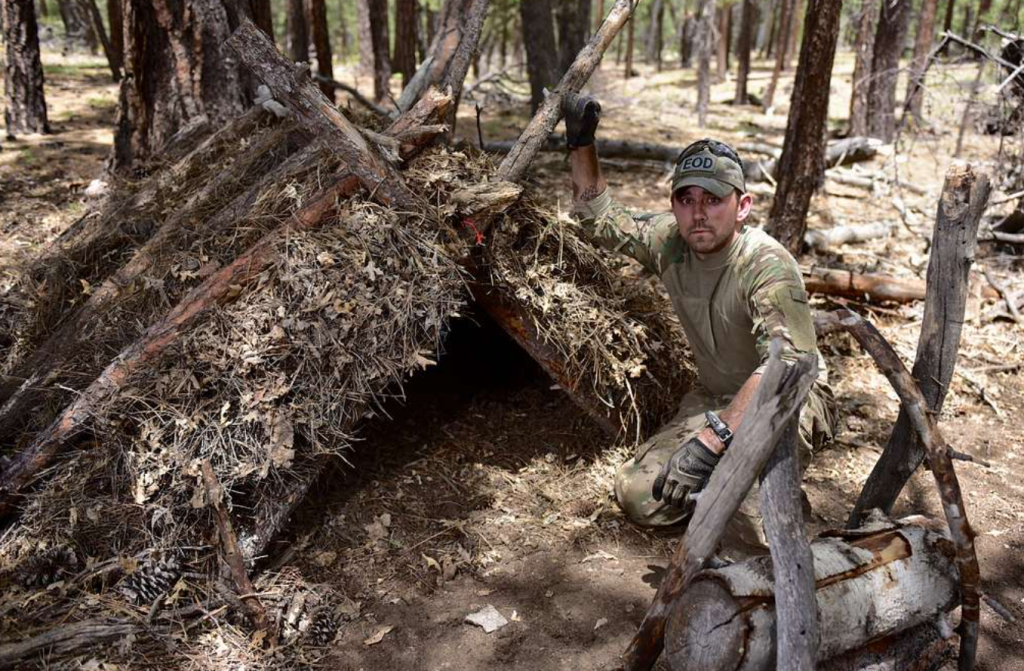
In severe weather, an A-frame shelter provides the stability needed to withstand rain, wind, and snow. Constructing an A-frame begins with two sturdy anchor points—trees or other support structures—to which you’ll attach a horizontal ridgepole. Lean branches against the ridgepole from both sides to form an A-shaped roof, securing them with rope or vines if available.
Cover the framework with a tarp or, if unavailable, multiple layers of dense leaves and pine boughs. To prevent rainwater from pooling, make sure the roof has a steep enough angle for drainage.
Anchoring each side tightly and adding support along the edges enhances stability, making this shelter ideal for rougher conditions.
Tarp Shelter Techniques: Quick, Versatile, and Weatherproof
Tarp shelters offer an efficient solution when speed and versatility are priorities. There are several tarp configurations to suit different weather conditions.
For example, an A-frame tarp shelter provides reliable rain cover, while a lean-to setup allows airflow, making it ideal for warmer weather.
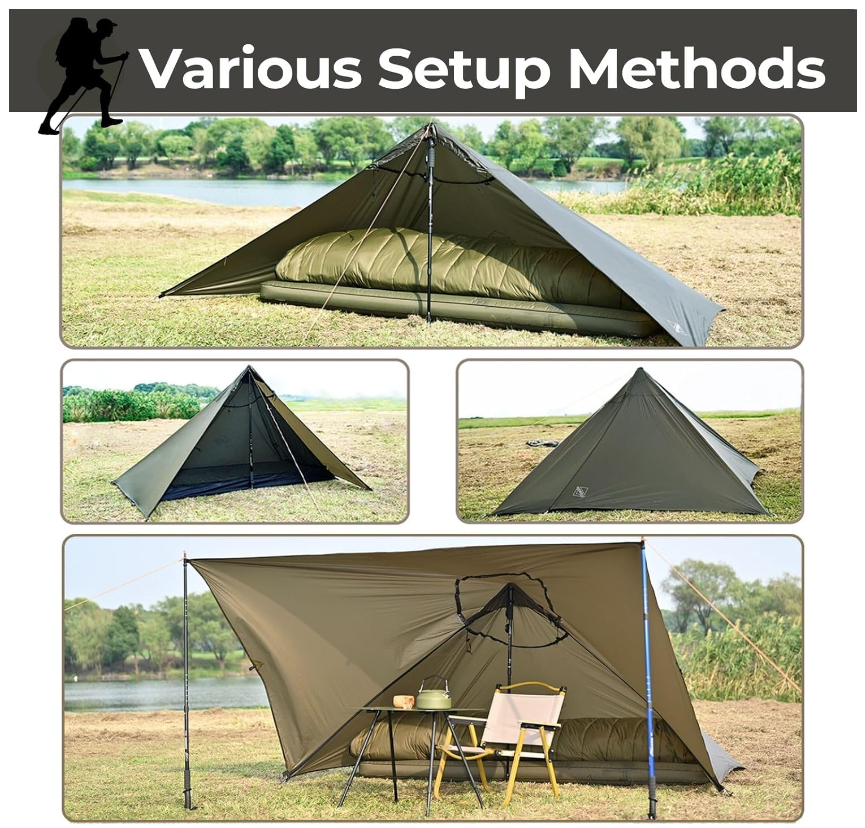
There’s not always enough time to build a full shelter. This premium windproof and rainproof tarp is a versatile and inexpensive emergency shelter. Weighs under 1 pound! 4.5 stars.
Using a ridge-line between two trees, drape the tarp over it and secure each corner with stakes, adjusting the height and angle to your needs.
In snowy conditions, lower the tarp’s height and angle it sharply to keep snow from accumulating on top. If the wind is strong, secure the tarp with additional stakes and knots to keep it steady. This lightweight, adaptable option is a staple for minimalist campers.
Essential Tools and Gear for Shelter Building
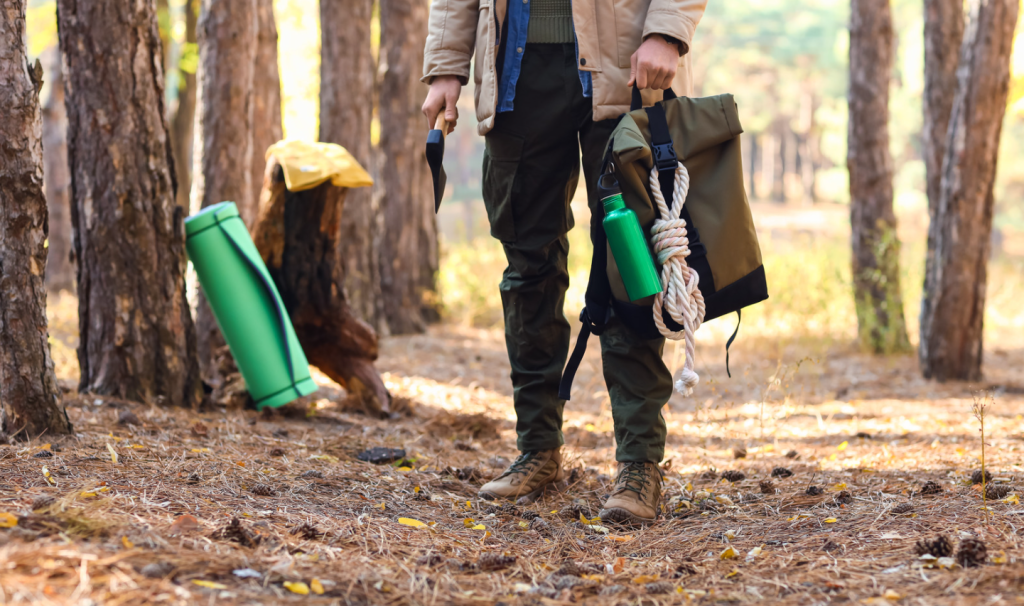
Having the right tools makes shelter building more efficient and less strenuous. Basic tools like a knife, hatchet, and paracord multi-tool are invaluable, allowing you to cut branches, split wood, and secure structural elements with ease.
Heavy-duty emergency blankets can double as tarps, serving as effective weatherproofing layers for most shelters. Stakes, carabiners, and multi-purpose rope also simplify setup and add structural stability.
Pack only the essentials to avoid excessive weight, focusing on multi-use tools that save time and effort. With just a few items, you’ll be ready to construct a reliable shelter wherever you set up camp.
Safety Tips and Best Practices for Camping Shelters
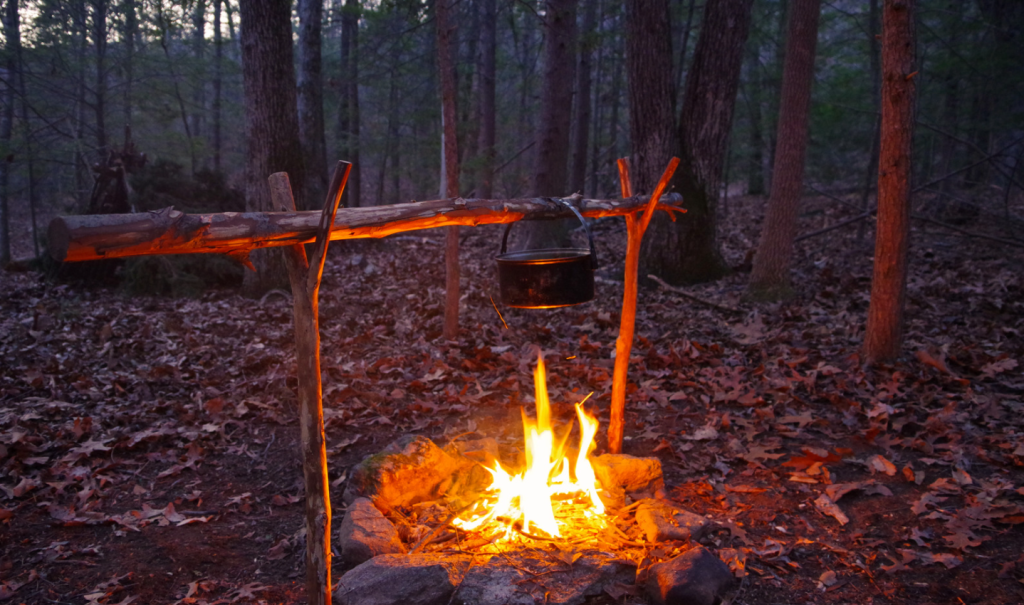
Safety is paramount when setting up a survival shelter. Throughout the night, monitor your shelter’s stability, especially in changing weather. Be mindful of surrounding hazards like dead branches or unstable rock formations that could pose risks.
If planning to build a fire nearby, campsite safety is a top priority. If a fire is not required for immediate emergency heat when trapped in cold weather, ensure it’s a safe distance from the shelter. Be sure to take into account wind direction in order to prevent sparks from reaching your structure.
Maintaining vigilance of your surroundings and structure can prevent many common issues, ensuring you stay safe and comfortable all night long.

Knowing how to build a variety of shelters is a valuable skill that should be acquired as early as possible in your camping journey.
Whether it’s a lean-to, debris hut, A-frame, tarp shelter, or any of the myriad variations, each type has unique benefits. Begin by learning to construct shelters that can be completed in minutes, then steadily advance to more intensive and durable survival setups that will prepare you for the very worst that nature can throw your way.
Practicing your survival shelter skills in controlled environments builds confidence and sharpens your instincts, minimizing unexpected situations in the wilderness. And these skills are more than practical—they add depth to your connection with nature and elevate camping to an art form!
See Our Latest Posts
- 21 Fun Camping Games to Entertain Yourself Outdoors
- How to Set Up a Hammock for Camping
- Compact Camping Gear That Saves Space in Your RV or Van
- Top 15 Most Beautiful Waterfalls In The World To Visit In Your Lifetime
- Top 12 Camping Gadgets and Accessories You Didn’t Know You Needed (2025)
Write A Guest Post For Us!
Are you passionate about camping and the great outdoors?
We’re excited to announce that we’re accepting guest posts
in the camping and outdoor niche!

